
Before & After: Restoring a 19th-Century Oil Painting
Oil paintings are among the most admired and collected forms of fine art—but they are also incredibly vulnerable to the passage of time. Environmental exposure, physical damage, and past restoration efforts can leave them dull, cracked, or disfigured. In this post, we take you behind the scenes of a full-scale restoration of a 19th-century oil painting, revealing the meticulous steps that brought it back to life.
The Artwork in Question
The painting—a pastoral scene from the late 1800s—arrived at our conservation studio with several significant issues:
- Discolored Varnish: A thick, yellowed varnish layer obscured the original colors.
- Tears and Canvas Deformation: Two large tears had distorted the canvas tension.
- Paint Flaking: Unstable paint layers were lifting in several areas.
- Surface Grime: Accumulated soot, dust, and pollutants had dulled the surface.
Step-by-Step Restoration Process
1. Assessment and Documentation
Before any hands-on work began, the painting underwent thorough visual and technical examination:
- UV fluorescence revealed overpainting and previous retouching.
- Infrared reflectography identified underdrawings.
- High-resolution photography captured the artwork’s original condition.
A detailed condition report was prepared to guide the restoration process.
2. Surface Cleaning
Using conservation-grade solvents and swabs, we carefully removed surface dirt and pollutants. This phase required precision to avoid disrupting the original paint layer.
3. Varnish Removal
The discolored varnish was tested for solubility and then removed in controlled stages. As the varnish lifted, the painting’s true color palette and luminosity were revealed—greens, blues, and ochres emerged with clarity.
4. Structural Repairs
- Tear Mending: The torn canvas edges were realigned using microscopic threads and then bonded with heat-set adhesives.
- Lining: A new linen backing was adhered to the canvas for added strength.
- Stretcher Adjustment: The original stretcher was preserved but adjusted to restore proper tension.
5. Paint Consolidation
Areas with flaking paint were treated with a stabilizing adhesive, injected and set under gentle heat and pressure to ensure adhesion.
6. Inpainting
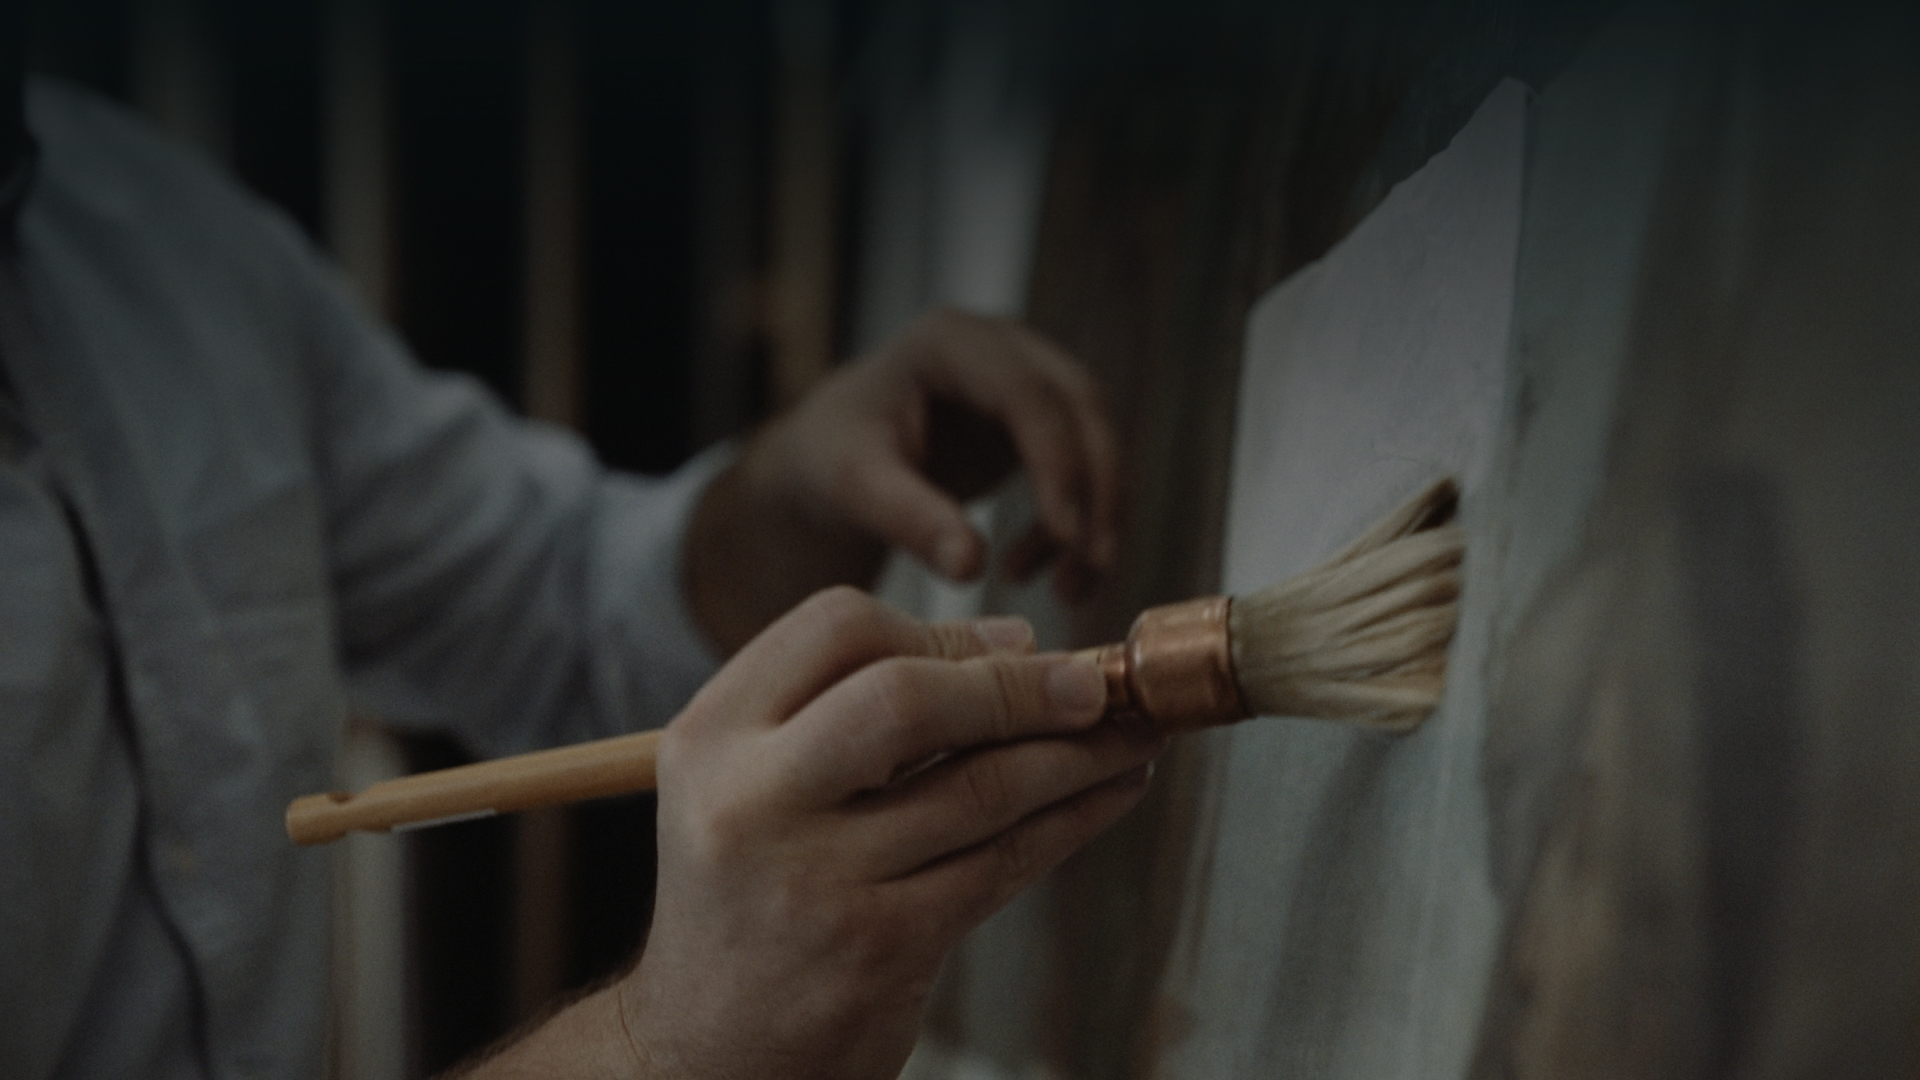
Losses in the original paint layer were inpainted with reversible conservation pigments. We used a microscopic brush technique to integrate the retouching seamlessly with surrounding areas—ensuring it would be visible only under close inspection or UV light.
7. Final Varnishing
A new synthetic, non-yellowing varnish was applied to unify the painting’s surface and saturate its colors while protecting it from future UV damage.
The Transformation
The before-and-after images speak volumes. What was once a faded and damaged piece now stands revitalized with brilliance and structural integrity. Every detail—from the sunlit sky to the fine brushwork of grass blades—has regained its original expression.
Ethical Considerations
At every stage, our team followed conservation ethics:
- Minimal Intervention: Only areas of loss or instability were treated.
- Reversibility: All restoration materials can be removed without damaging the original.
- Documentation: Every step was recorded for future reference.
Why Restoration Matters
This restoration not only recovered an artwork’s aesthetic but also reactivated its historical and cultural significance. It allows viewers to connect with the artist’s vision, unmediated by time’s decay.
Whether hanging in a gallery or passed down through generations, an oil painting’s life doesn’t end with age—it can begin again with careful conservation.